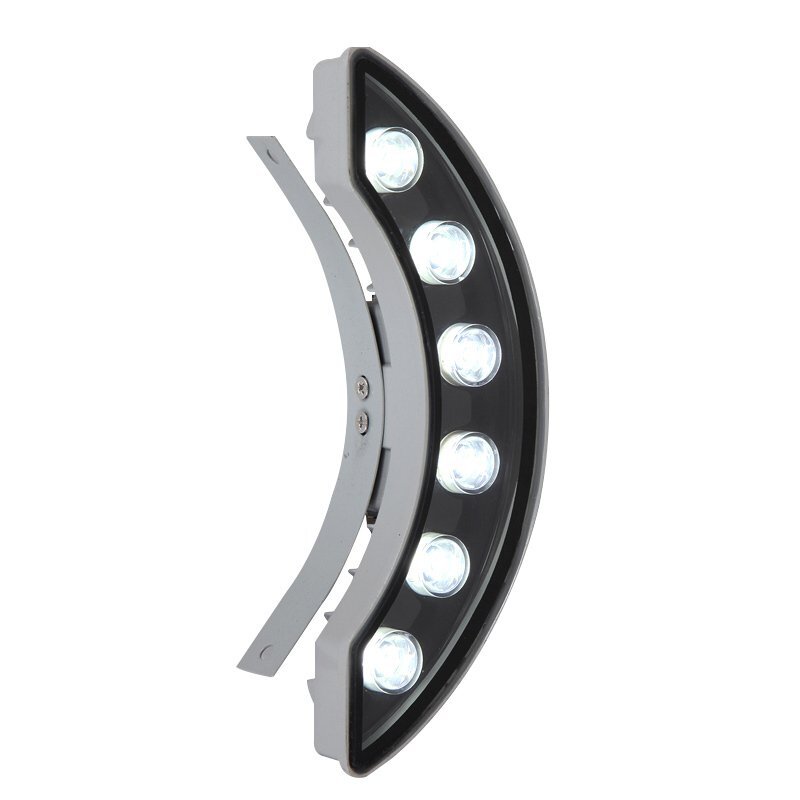
Arc-shaped LED project light are mainly installed in ancient towers, eaves, pavilions, attractions and other places that need lighting. What is the workmanship process when manufacturing arc-shaped LED project light?
1. After receiving the raw materials, check whether the lamp arm has defective products, such as cracking of the lampshade, failure of powder spraying or inconsistent tone;
2. Drop epoxy resin glue at the outlet of the lamp body;
3. In order to ensure that each lamp bead is bright, be sure to measure all lamp beads first, and then install the lens;
4. Paste double-sided tape when pasting the lens to ensure that the lens is close to the solar cell, otherwise the glue will enter the lamp bead;
5. Pay special attention not to strip the wire during welding, otherwise it will cause power failure and short circuit failure;
6. Hot grease at the bottom of the lamp body;
7. Put the PCB board well, gently flatten the shell, then tighten the screws, and then apply glue; 8. All electrical components and cables need to be buried, and the edge of the lens and case is allowed to be glued.
8. Cover laminated glass and lock the bracket. Before covering laminated glass, check that the lenses are clean and tidy. There can be no glue on the front and sides of the lens, and no dirt on the back of laminated glass.
9. Aging and health. If time permits, it will take 8 hours to age. In order to prevent aging caused by excessive output power, the electrode connection wires of the lighting fixture become hot and melt together, causing a short circuit fault and causing a fire. Pay attention to the serial number when aging.

 Scan to follow Lumider Wechat
 Scan to open the mobile website